Windows Deployment Services Setup Windows Server 2008
What is Windows Deployment Services?
Benefits of Windows Deployment ServicesWindows Deployment Services provides the following installation and deployment benefits:
- Reduces the complexity of deployments and the costs associated with inefficient manual installation processes.
- Allows network-based installation of Windows operating systems, including Windows Vista and Windows Server 2008.
- Deploys Windows images to computers without operating systems.
- Supports mixed environments that include Windows Seven, Windows Server 2008, Microsoft Windows XP, and Microsoft Windows Server 2003.
- Provides an end-to-end solution for the deployment of Windows operating systems to client computers and servers.
- Uses standard Windows Server 2008 setup technologies, including Windows PE, .wim files, and image-based setup.
Prerequisites for installing Windows Deployment Services
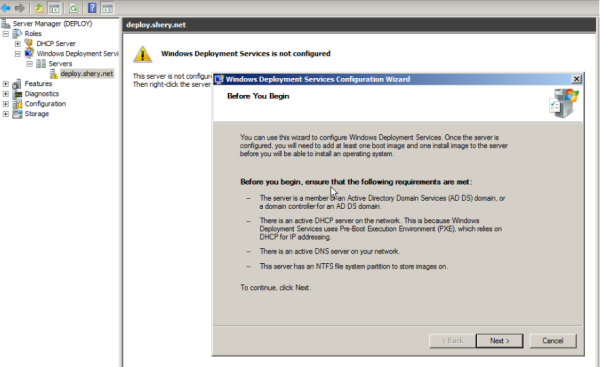
- AD DS A Windows Deployment Services server must be either a member of an AD DS domain or a domain controller for an AD DS domain.
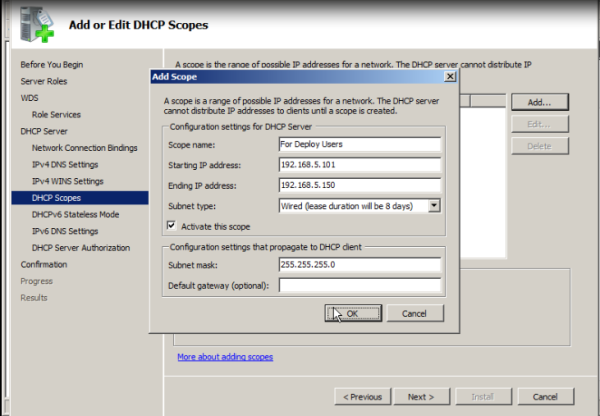
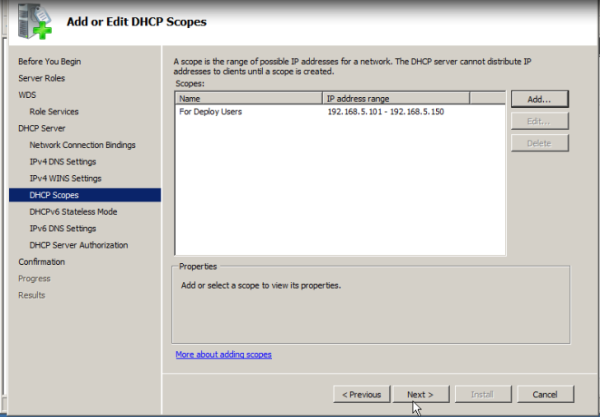
- DHCP You must have a working DHCP server with an active scope on the network because Windows Deployment Services uses PXE, which relies on DHCP for IP addressing.
- DNS You must have a working DNS server on the network before you can run Windows Deployment Services.
- NTFS volume The server running Windows Deployment Services requires an NTFS file system volume for the image store.
- Credentials To install the role, you must be a member of the Local Administrators group on the server. To initialize the server, you must be a member of the Domain Users group.
Installing Windows Deployment Services
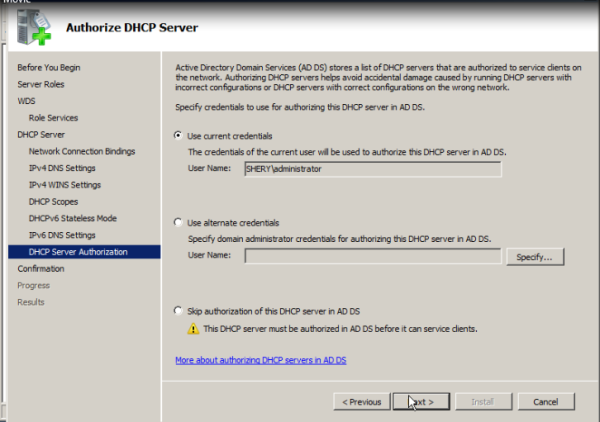
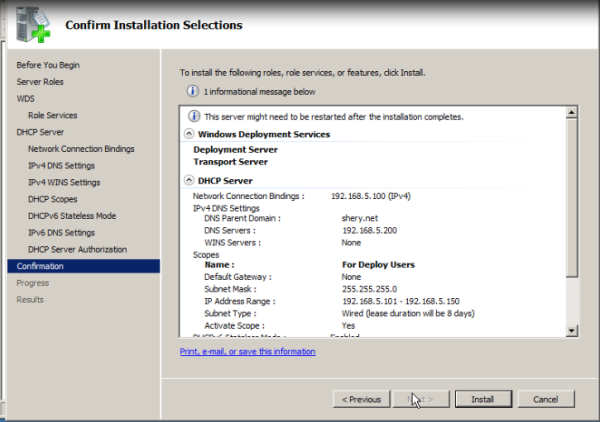
- To install the role by using the Initial Configuration Wizard, click Add roles on the Initial Configuration Tasks startup screen. Click Next and then select Windows Deployment Services.
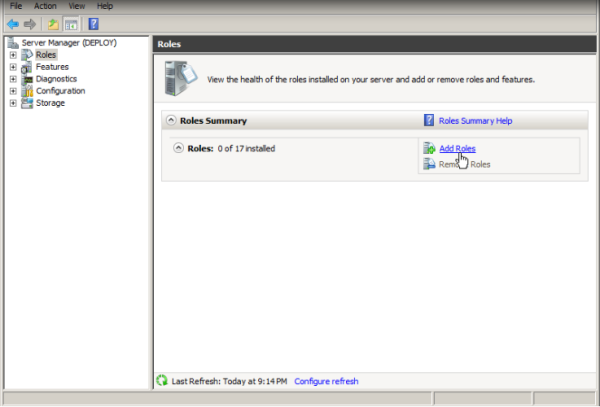
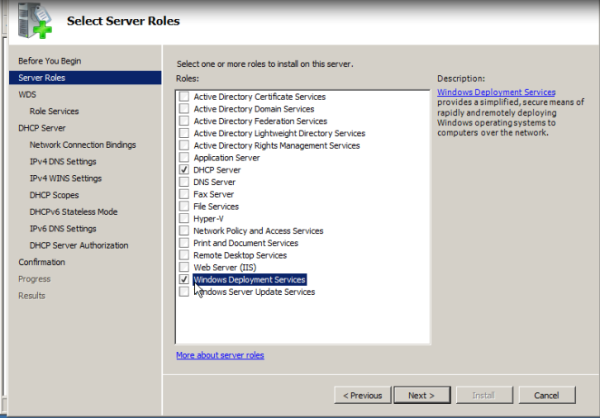
- To install the role by using Server Manager, click Add roles, which is located in the Roles Summary pane. Click Next and then select Windows Deployment Services.
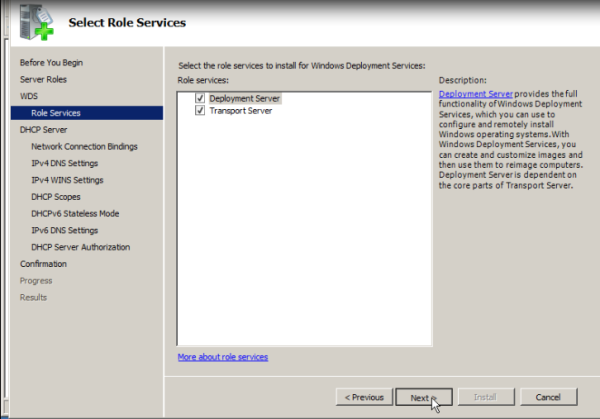
NoteDuring the installation, you have the following two role services to choose from.
- Transport Server. You can use Transport Server to create multicast namespaces that transmit data (including operating system images) from a standalone server. You should use this option if you want to transmit data by using multicasting, but you do not want to incorporate all of Windows Deployment Services.
- Deployment Server. To install this option, ensure that both Deployment Server and Transport Server are selected on the second installation wizard screen. This option provides the full functionality of Windows Deployment Services, which you can use to configure and remotely install Windows operating systems. With Windows Deployment Services, you can create and customize images and then use them to reimage computers. Note that Deployment Server is dependent on the core parts of Transport Server.
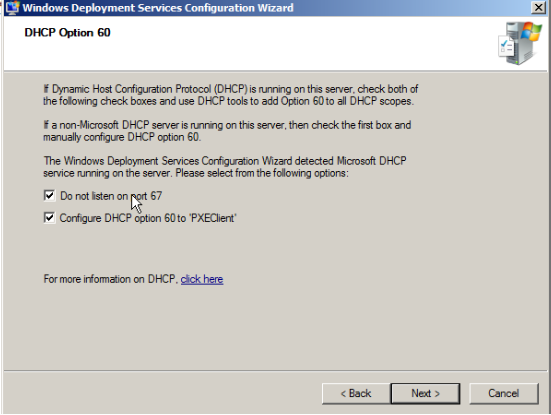
- If you are running Windows Deployment Services and a non-Microsoft DHCP server on the same computer, in addition to configuring the server to not listen on port 67, you will need to use your DHCP tools to add Option 60 to your DHCP scopes.
- If DHCP is installed on a server that is located in a different subnet, you will need to do one of the following:
- (Recommended) Configure your IP Helper tables. All DHCP broadcasts by client computers on UDP port 67 should be forwarded directly to both the DHCP server and the Windows Deployment Services PXE server. Also, all traffic on UDP port 4011 from the client computers to the Windows Deployment Services PXE server should be routed appropriately (these requests direct traffic, not broadcasts, to the server).
- Add DHCP options 66 and 67.
Configuring WDS
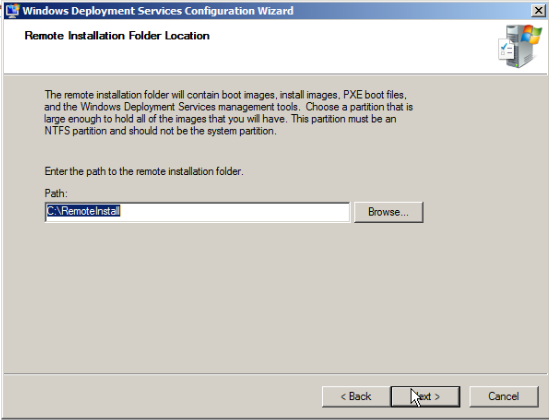
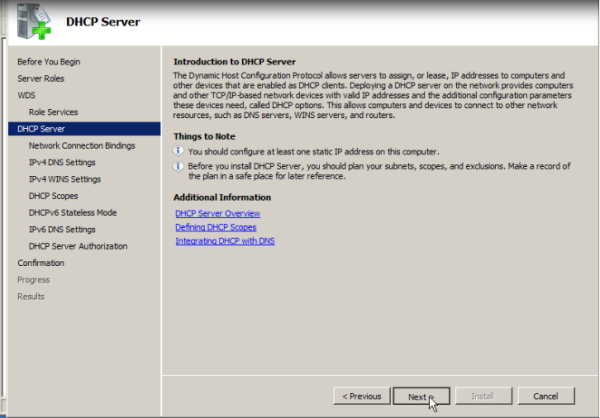
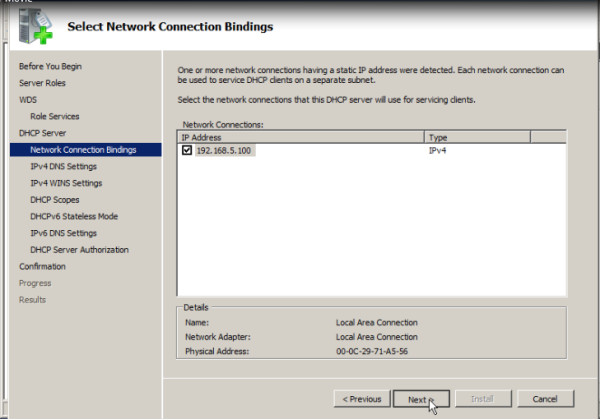
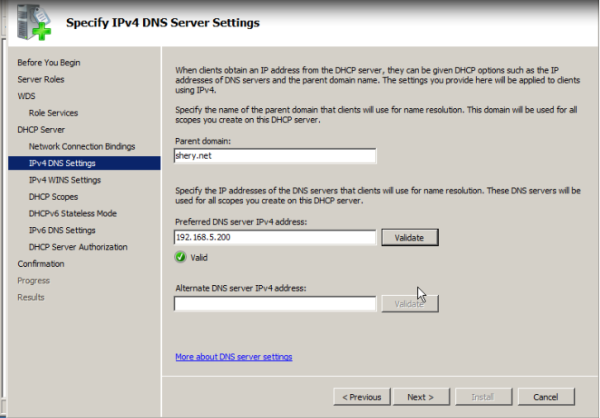
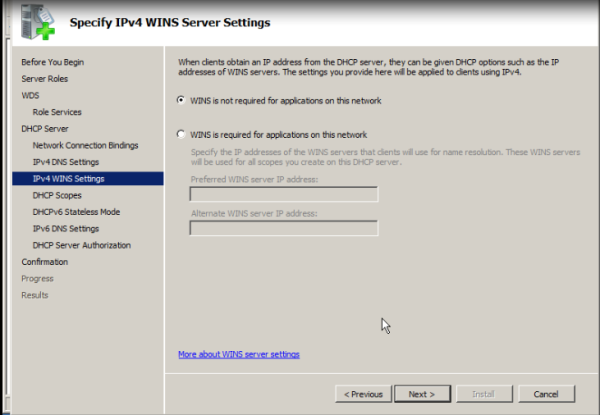
I have checked out both options as the DHCP and WDS is on the same server.
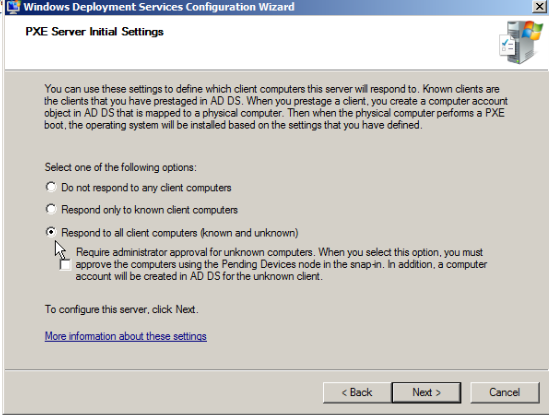
It is the response options for client computers, select according to your requirement.
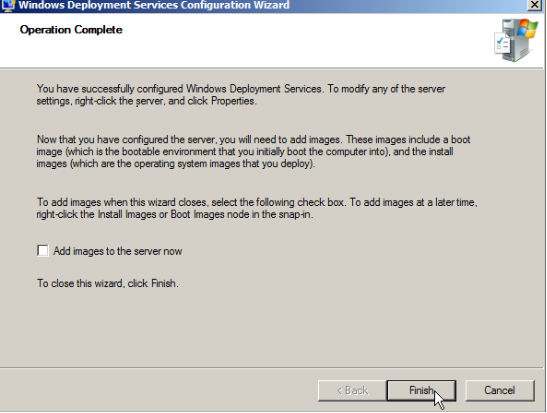
When the configuration is completed clear the Add images to Windows Deployment Services now check box and then click Finish.
Adding Images
- Boot images. Boot images are images that you boot a client computer into to perform an operating system installation. In most scenarios, you can use the Boot.wim file from the Windows Server 2008 installation DVD.
- Install images. Install images are the operating system images that you deploy to the client computer. You can also use the Install.wim file from the installation DVD, or you can create your own install image.
Boot Image
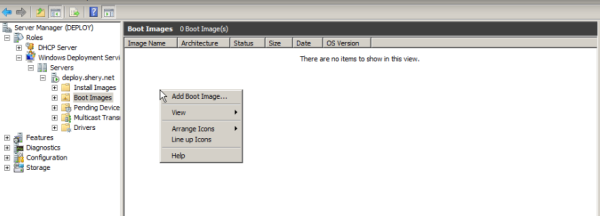
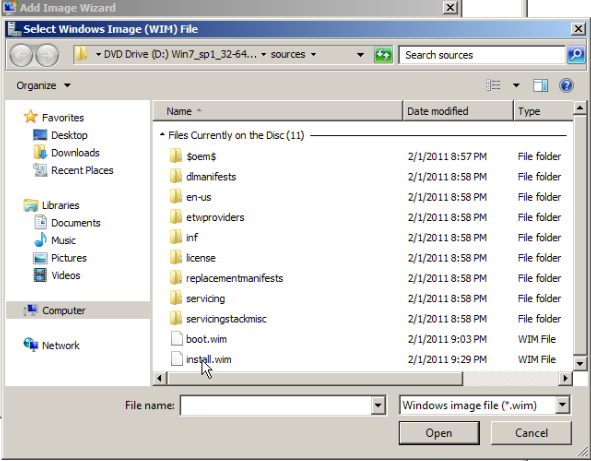
Browse to choose the default boot image (Boot.wim) from the Windows 7 DVD, located in the \Sources folder.
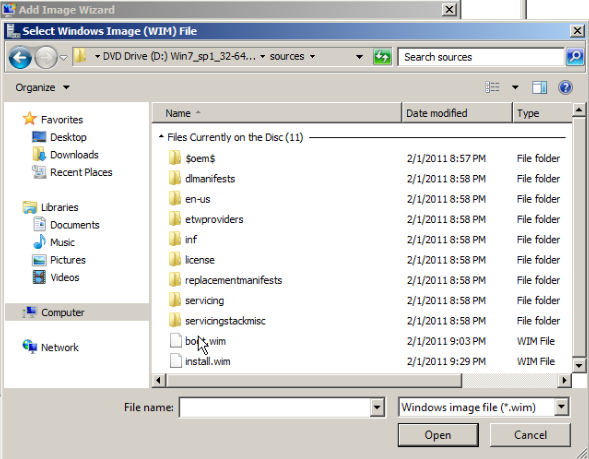
Click Open and then click Next.
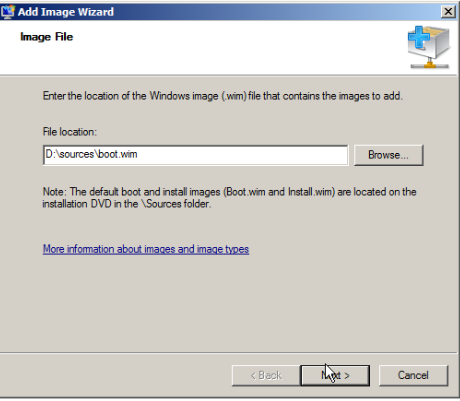
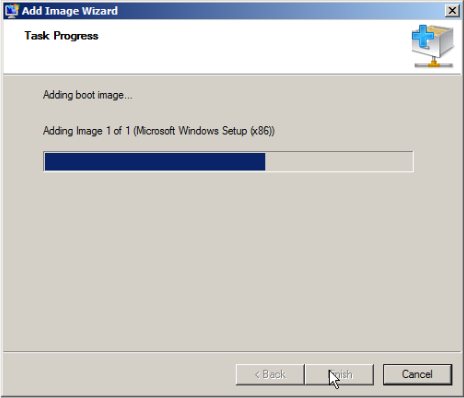
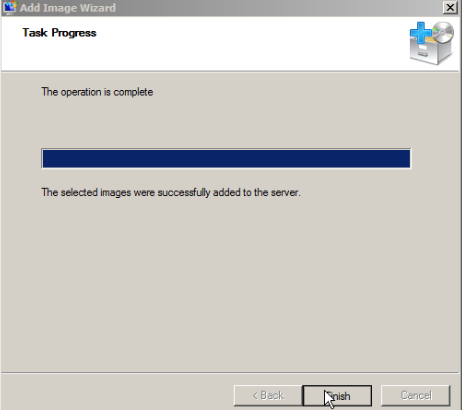
Follow the instructions in the wizard to add the image till you find wizard completion.

Specify a name for the image group, and then click Next.
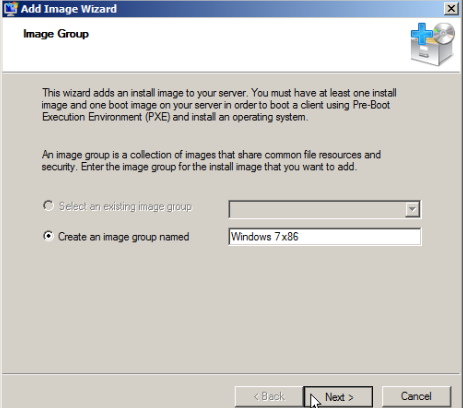
Browse to select the default install image (Install.wim) on the Windows 7 DVD, located in the \Sources folder, and then click Open.
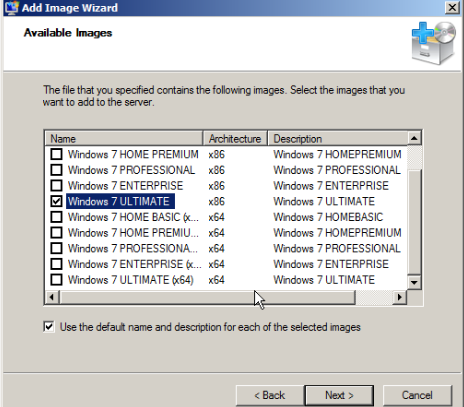
Follow the instructions in the wizard to add the images till completion of the wizard.
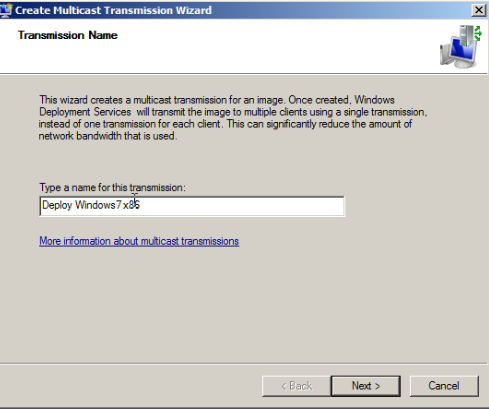
Multicast
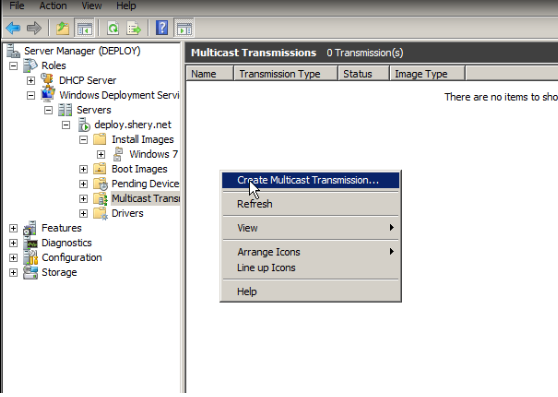
Selecting multicast type
There are two types of multicast transmissions:
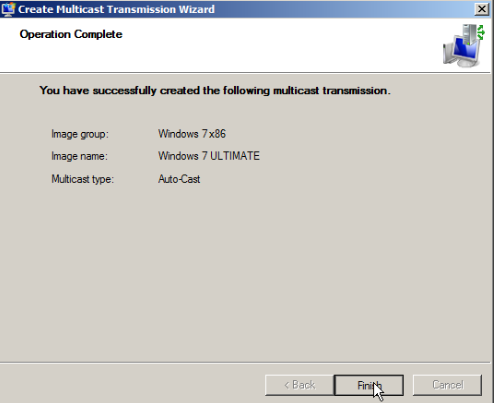
- Auto-Cast. This option indicates that as soon as an applicable client requests an install image, a multicast transmission of the selected image begins. Then, as other clients request the same image, they too are joined to the transmission that is already started.
- Scheduled-Cast. This option sets the start criteria for the transmission based on the number of clients that are requesting an image and/or a specific day and time. If you do not select either of these check boxes, the transmission will not start until you manually start it. Note that in addition to these criteria, you can start a transmission manually at any time by right-clicking it and then clicking Start.
Note
Content is transferred over the network only if clients request data. If no clients are connected (that is, the transmission is idle), data will not be sent over the network.
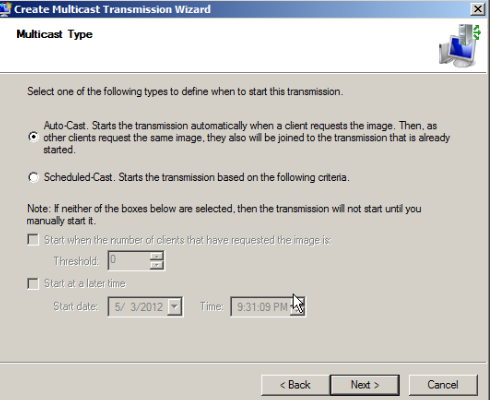
Follow the instructions till completion of the wizard.
